
 Image 1 of 12
 Image 2 of 12
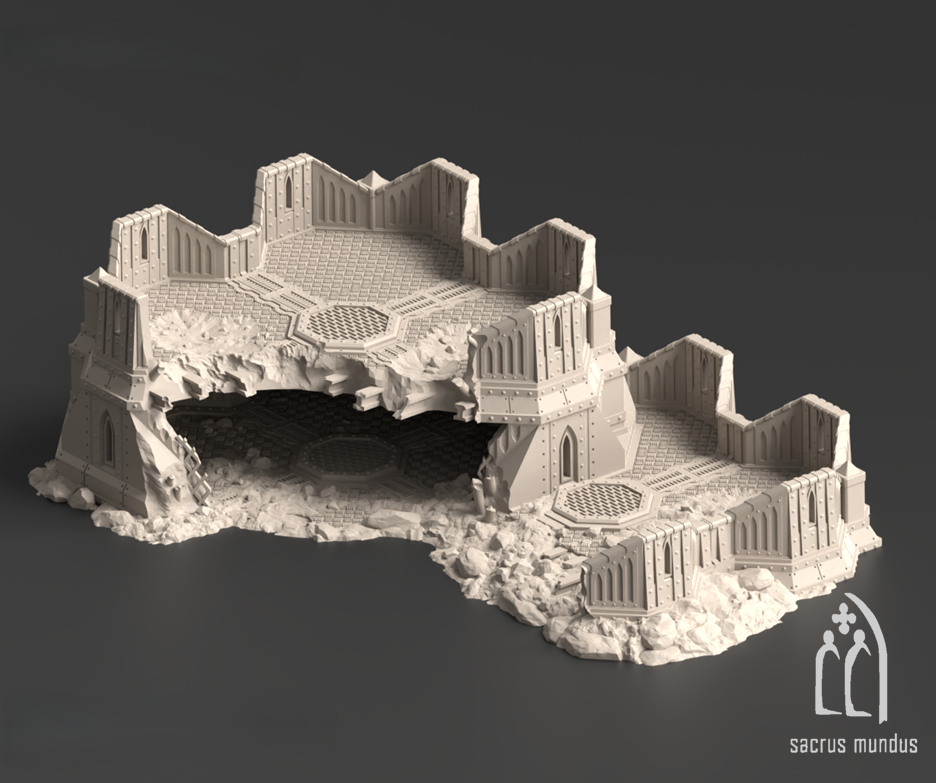 Image 3 of 12
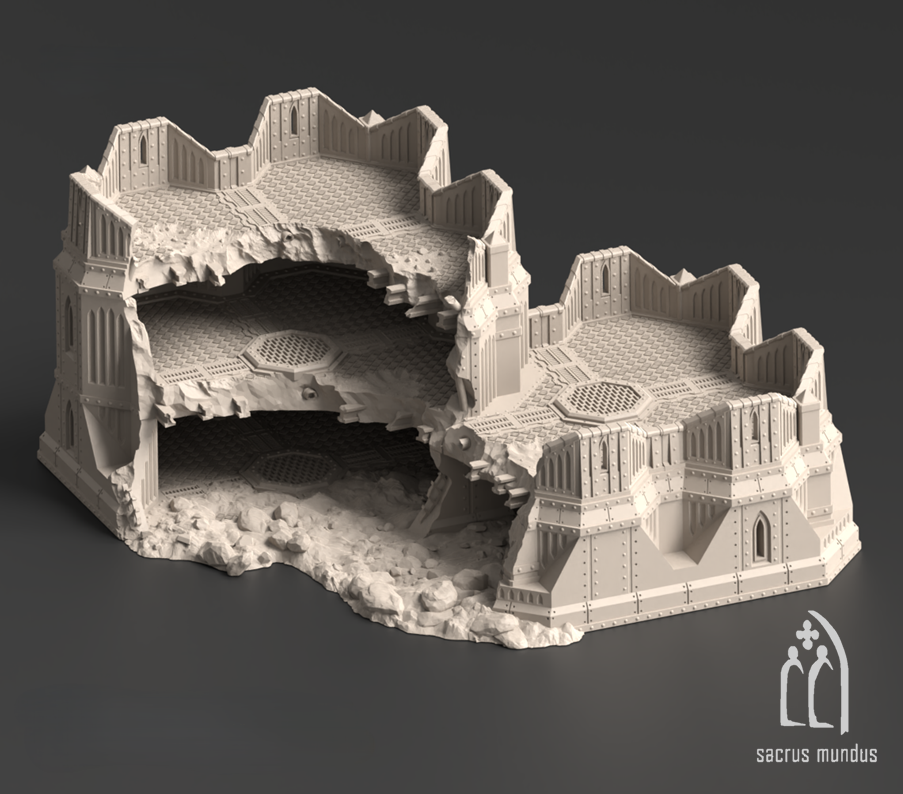 Image 4 of 12
 Image 5 of 12
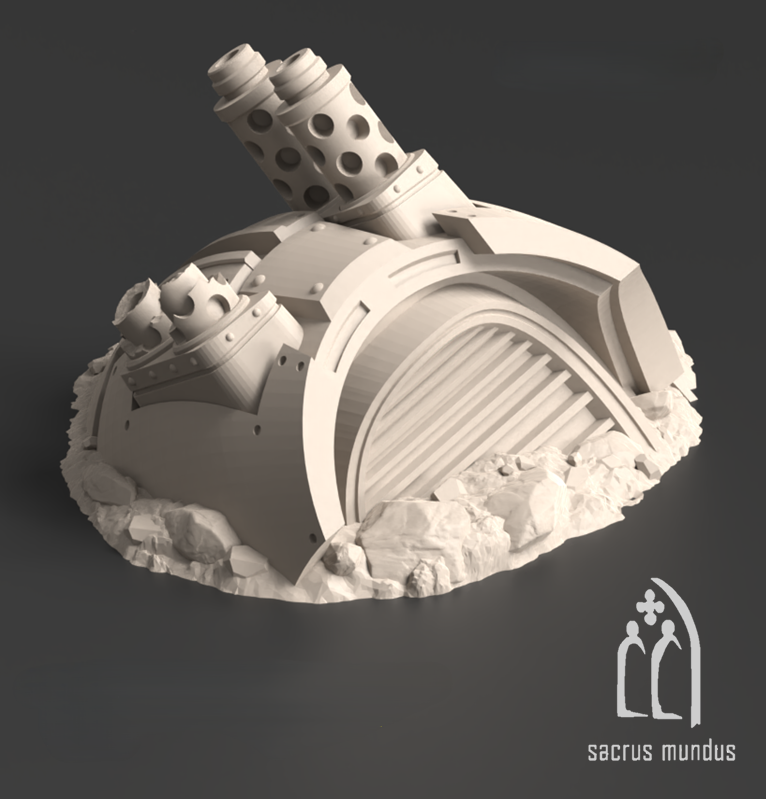 Image 6 of 12
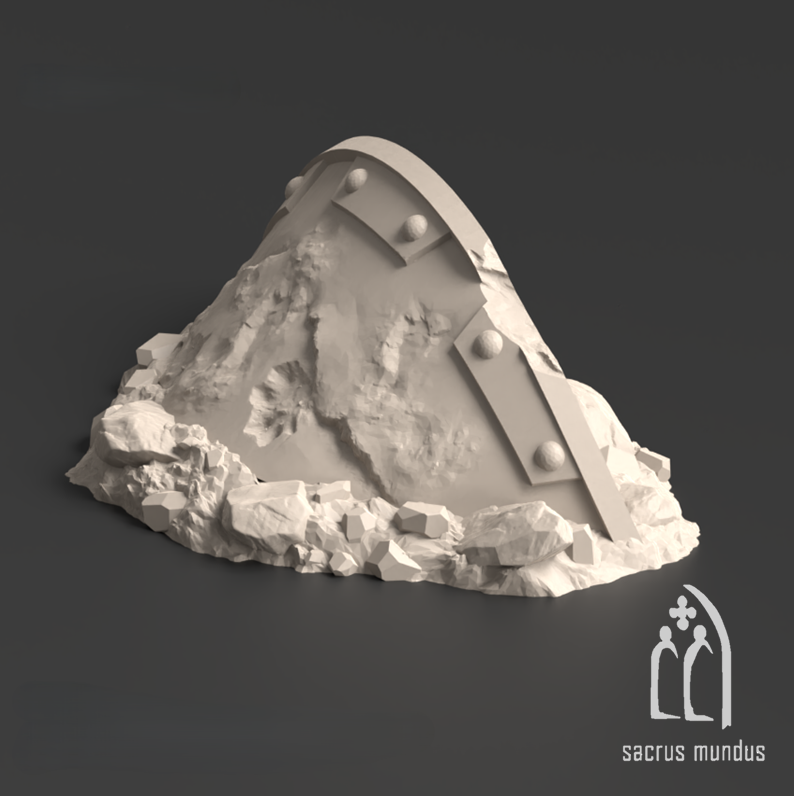 Image 7 of 12
 Image 8 of 12
 Image 9 of 12
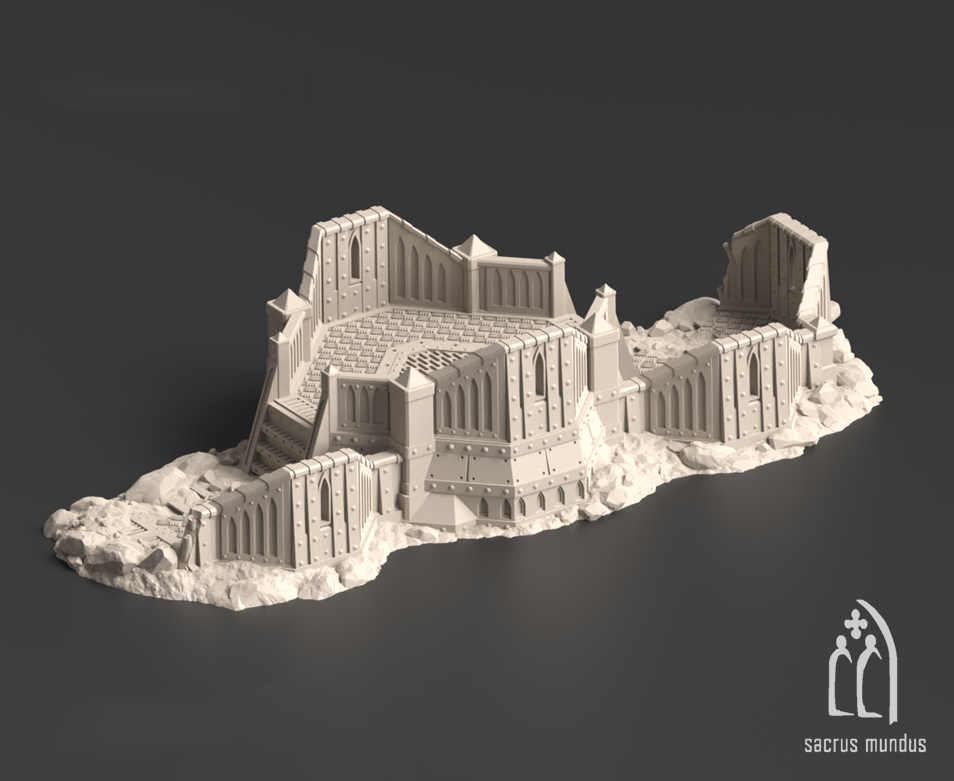 Image 10 of 12
 Image 11 of 12
 Image 12 of 12
What's Included:
Bastion A (13 pieces):
28/32mm scale: 321x433x122mm / 12.6x17x4.8 inches
20mm scale: 225x303x85mm / 8.8x11.9x3.4 inches
15mm scale: 193x260x73mm / 7.6x10.2x2.9 inches
Bastion B (17 pieces):
28/32mm scale: 396x407x193mm / 15.6x16x7.6 inches
20mm scale: 277x285x135mm / 10.9x11.2x5.3 inches
15mm scale: 238x244x116mm / 9.4x9.6x4.6 inches
Bunker A (1 piece):
28/32mm scale: 154x161x77mm / 6.1x6.3x3 inches
20mm scale: 108x113x54mm / 4.3x4.4x2.1 inches
15mm scale: 92x97x46mm / 3.7x3.8x1.8 inches
Bunker B (1 piece):
28/32mm scale: 169x154x77mm / 6.7x6.1x3 inches
20mm scale: 118x108x54mm / 4.7x4.3x2.1 inches
15mm scale: 101x92x46mm / 4x3.7x1.8 inches
Remains A (1 piece):
28/32mm scale: 198x191x81mm / 7.8x7.5x3.2 inches
20mm scale: 139x134x57mm / 5.5x5.3x2.2 inches
15mm scale: 119x115x49mm / 4.7x4.5x1.9 inches
Remains B (3 pieces):
28/32mm scale: 198x194x120mm / 7.8x7.6x4.7 inches
20mm scale: 139x136x84mm / 5.5x5.3x3.3 inches
15mm scale: 119x116x72mm / 4.7x4.6x2.8 inches
Remains C (1 piece):
28/32mm scale: 198x186x84mm / 7.8x7.3x3.3 inches
20mm scale: 139x130x59mm / 5.5x5.1x2.3 inches
15mm scale: 119x112x50mm / 4.7x4.4x2 inches
Trench A (1 piece):
28/32mm scale: 198x153x50mm / 7.8x6x2 inches
20mm scale: 139x107x35mm / 5.5x4.2x1.4 inches
15mm scale: 119x92x30mm / 4.7x3.6x1.2 inches
Trench B (2 pieces):
28/32mm scale: 364x181x77mm / 14.3x7.1x3 inches
20mm scale: 255x127x54mm / 10x5x2.1 inches
15mm scale: 218x109x46mm / 8.6x4.3x1.8 inches
Trench C (3 pieces):
28/32mm scale: 372x166x77mm / 14.6x6.5x3 inches
20mm scale: 260x116x54mm / 10.2x4.6x2.1 inches
15mm scale: 223x100x46mm / 8.8x3.9x1.8 inches
Trench D (1 piece):
28/32mm scale: 151x162x50mm / 5.9x6.4x2 inches
20mm scale: 106x113x35mm / 4.1x4.5x1.4 inches
15mm scale: 91x97x30mm / 3.5x3.8x1.2 inches
Trench E (2 pieces):
28/32mm scale: 288x116x50mm / 11.3x4.6x2 inches
20mm scale: 202x81x35mm / 7.9x3.2x1.4 inches
15mm scale: 173x70x30mm / 6.8x2.8x1.2 inches
All items come unpainted in non-toxic gray PLA. Some assembly may be required. We inspect all of our products prior to shipment, but due to the nature of 3d printing, some objects may require some cleanup prior to use. Other print resolutions (print quality) and scale (size) are available as requested. This item is designed by Sacrusmundus.